
Home Improvement
Troubleshooting Guide: Common Issues in Contour Edgebanding and How to Fix Them

Key Takeaways
- Ensure Strong Adhesion: Clean edges, use the proper adhesive amount, and maintain the correct temperature to prevent peeling or detachment.
- Prevent Chipping and Splitting: Use sharp blades, flexible materials, and calibrated machine settings.
- Minimize Glue Line Visibility: Align banding carefully and apply even pressure for seamless edges.
- Maintain Consistent Application: Uniform feed speed and proper machine calibration prevent wavy or misaligned edges.
- Control Temperature: Condition materials and workspace to optimize adhesive performance.
- Prioritize Maintenance: Regular cleaning, lubrication, and inspections keep machines efficient and extend equipment life.
Introduction
Contour edgebanding is a critical process for fabricating curved or irregular furniture elements, ensuring that each project achieves a polished and professional finish. When properly executed, edgebanding adds durability, protects edges from everyday wear, and delivers visual continuity. However, even experienced woodworkers and manufacturers can encounter unexpected challenges along the way, especially when working with specialized equipment such as an industrial edge banding machine. These issues, if unresolved, can compromise both aesthetics and structural integrity.
This troubleshooting guide examines the most common issues encountered in contour edgebanding, ranging from adhesion difficulties to temperature-related finish issues. With a careful blend of actionable solutions and preventive maintenance tips, this article will help you achieve flawless results and boost the longevity of your work.
Whether you’re a furniture manufacturer, a cabinetmaker, or a craftsman seeking an edge in your finishing techniques, understanding how to identify and address these concerns proactively is crucial to delivering a finished product that meets both functional and aesthetic standards.
By implementing the following practical tips, you’ll be well-equipped to prevent costly errors, avoid rework, and keep your projects on schedule. The strategies discussed below apply whether you’re using modern edgebanders or manual application techniques, and are based on industry best practices endorsed by woodworking professionals worldwide.
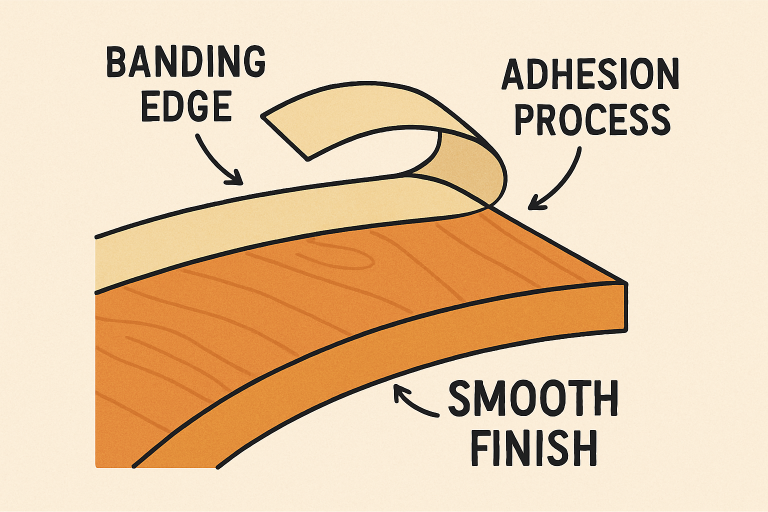
1. Poor Adhesion
Symptoms: Edgebanding material detaches from the substrate with minimal force, frequently leaving adhesive residue on the panel surface.
Causes:
- Insufficient adhesive coverage.
- Incorrect or inconsistent adhesive temperatures.
- Dirty, oily, or uneven substrate surfaces.
Solutions:
- Clean the panel edges thoroughly to remove dust, oils, and any previous adhesive residue.
- Apply adhesive evenly, ensuring the application temperature falls within the manufacturer’s recommended range.
- Allow both the edgebanding material and panels to acclimate to room temperature before starting the process, as materials and adhesive bond better when they are not cold or moist.
2. Chipping or Splitting
Symptoms: Chips or splits appear along the edges after trimming or forming the edgeband.
Causes:
- Dull, damaged, or improperly adjusted trimming blades.
- Inappropriate machine settings that apply too much or too little pressure.
- Brittle or low-quality edgebanding materials are unable to flex with curved profiles.
Solutions:
- Inspect and sharpen or replace trimming blades frequently to ensure clean, smooth cuts.
- Adjust and calibrate machine feed rates and trimming settings to the material’s specification.
- Select flexible, high-quality edgebanding specifically engineered for use on contoured surfaces.
3. Glue Line Visibility
Symptoms: Visible glued seams diminish the seamless appearance of finished edges, impacting the final product’s quality.
Causes:
- Excessive glue application leading to spillage or squeeze-out.
- Slight misalignment of the banding material on the edge.
- Variations in pressure during adherence produce gaps or uneven seams.
Solutions:
- Apply only the recommended quantity of adhesive to avoid excess glue from surfacing.
- Carefully align the edgebanding before beginning the pressing or trimming phase.
- Ensure an even and consistent application of pressure using rollers or presses to help the banding adhere firmly to the substrate and produce an invisible glue line.
4. Uneven Edgebanding Application
Symptoms: The edgebanding appears wavy or is visibly misaligned, causing exposed substrate or uneven finishes.
Causes:
- Variability in machine feed speed or inconsistent feed rates.
- Incorrect or fluctuating pressure settings across the workpiece and banding material.
- Skewed or misaligned machine guides and equipment setup.
Solutions:
- Calibrate the device to maintain a uniform feed speed throughout the application process.
- Adjust pressure mechanisms to deliver a uniform force across the full band length.
- Conduct regular alignment inspections and maintenance on the machinery to prevent persistent misapplication.
5. Temperature-Related Issues
Symptoms: The adhesive doesn’t bond, especially in colder or highly variable climatic conditions.
Causes:
- Suboptimal ambient temperature affects adhesive performance and flow.
- Cold storage or transport of edgebanding materials reduces bonding effectiveness.
Solutions:
- Condition the workspace to maintain room temperatures conducive to proper adhesive setting, generally above 18 °C (65°F).
- Bring all consumables, including adhesives and edgebands, to room temperature before application.
- Adjust adhesive temperature either through equipment settings or by pre-warming materials in cooler conditions as needed.
6. Maintenance and Preventive Measures
Preventative maintenance is the foundation of achieving repeatable, high-quality results with contour edgebanding. Effective strategies include:
- Routine cleaning to prevent adhesive or dust buildup that can degrade machine performance.
- Lubricating moving mechanical parts to extend component life and reduce operating friction.
- Regular inspections and timely replacement of critical parts, such as trimming blades, rollers, and glue applicators.
Establishing a proactive maintenance schedule minimizes downtime, keeps equipment running efficiently, and protects your investment against premature wear and tear, as well as unexpected failures.
Final Thoughts
Mastering contour edgebanding challenges requires attention to detail, regular maintenance of equipment, and a solid understanding of both materials and machinery. By proactively addressing issues such as poor adhesion, glue line visibility, and temperature sensitivity, you’ll not only enhance the visual appeal of your work but also its durability and value. Successful edgebanding relies on preparation, precision, and a commitment to ongoing improvement—backed by an awareness of emerging best practices within the woodworking industry.

Building A Better Commercial Painting Plan From Prep To Completion

What Makes Legal Marketing Different From Marketing Almost Anything Else?

Why Bar Stools Can Completely Change the Feel of a Kitchen
Ways Proper Garage Door Installation Improves Performance

How to Compare Maine Neighborhoods Before Buying a Home in 2026

The Future of Home EV Charging: Trends, Benefits, and What Drivers Need to Know

How Septic Tank Pumping Services in Huntsville AL Protect Soil Absorption Systems

Foundation Crack Repair Using Injection Methods

How do you know when you need to change your primary care doctor
The Importance of Accurate Inventories Before Moving Day
Ways Proper Garage Door Installation Improves Performance
What Makes Legal Marketing Different From Marketing Almost Anything Else?
Why Bar Stools Can Completely Change the Feel of a Kitchen